This Feature May Not Be Enabled Based on Your Organization's Access Policy.
Organizations That Wish to Access This Feature Can Contact Their Customer Success Manager or Workplace Provider.
- Set up Your Account in Outlook for iOS
- Set up Your Account in the Native iOS Applications
- Set up Your Account in a Third-Party Application
Set up Your Account in Outlook for iOS
- Download Outlook for iOS in the App Store or install Outlook as a LocalZone™ application.
You may need to enter your Apple ID credentials to verify the download. - Open Outlook for iOS.
- Enter your Workplace E-mail address and tap Add Account.
- To add an additional account: Open the Menu > tap Settings > Add Email Account.
- If prompted, tap Exchange.
- Enter your Workplace password and click Sign in.
You may be required to verify the sign in by completing the multifactor authentication on your mobile device.- If Outlook is unable to automatically setup your account, you maybe be asked to enter the Server, Username, and Domain for your account. Contact support if you don't have this information.
- Accept any prompts for permission you may receive.
- Verify content is syncing.
Set up Your Account in the Native iOS Applications
Native iOS applications are not supported in LocalZone™. We recommend using Outlook for LocalZone™ users.
You can always follow these instructions from Apple to set up your Exchange account - https://apple.co/1J6umta
- Add your Exchange account by tapping Settings > Passwords & Accounts > Add Account > Exchange.
- Enter your email address, then tap Next. You can also enter an account description.
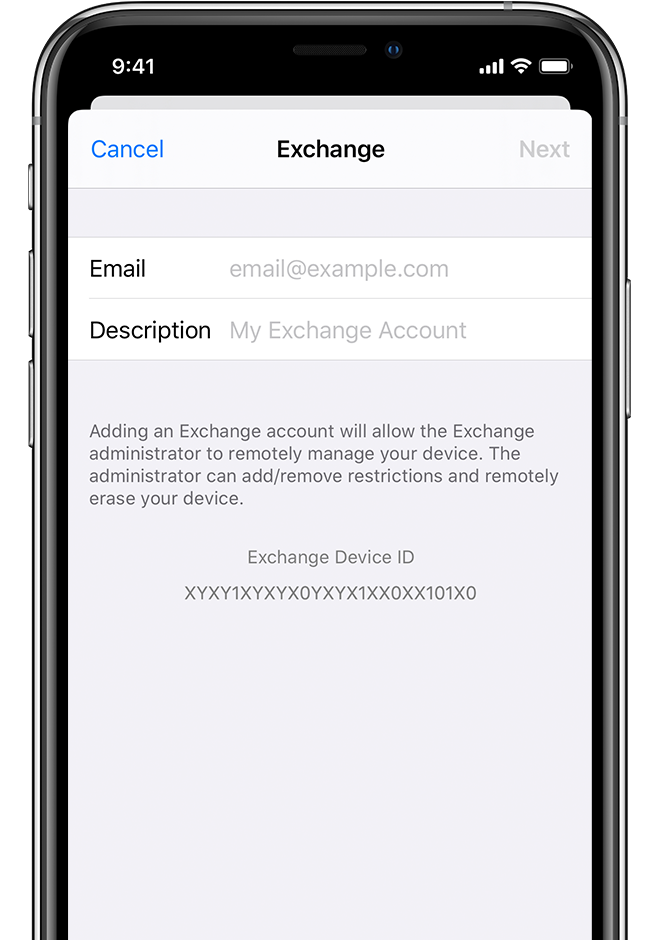
- After you enter your email address, choose Sign In to automatically discover your O365 Exchange account information.
- If Mail is unable to automatically set up your account, you maybe be asked to enter the Server, Username, and Domain for your account. Contact support if you don't have this information.
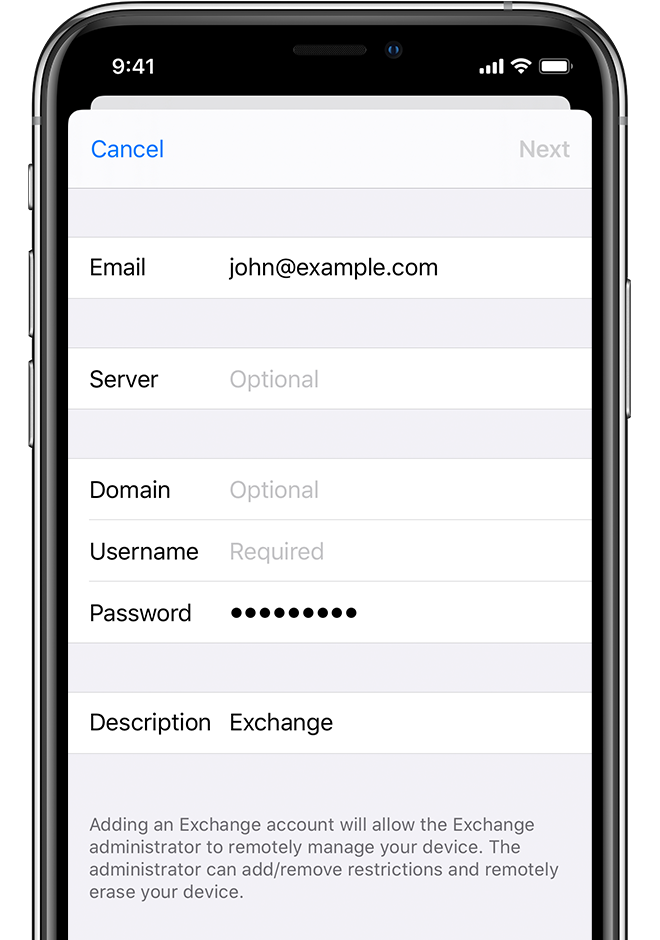
- If Mail is unable to automatically set up your account, you maybe be asked to enter the Server, Username, and Domain for your account. Contact support if you don't have this information.
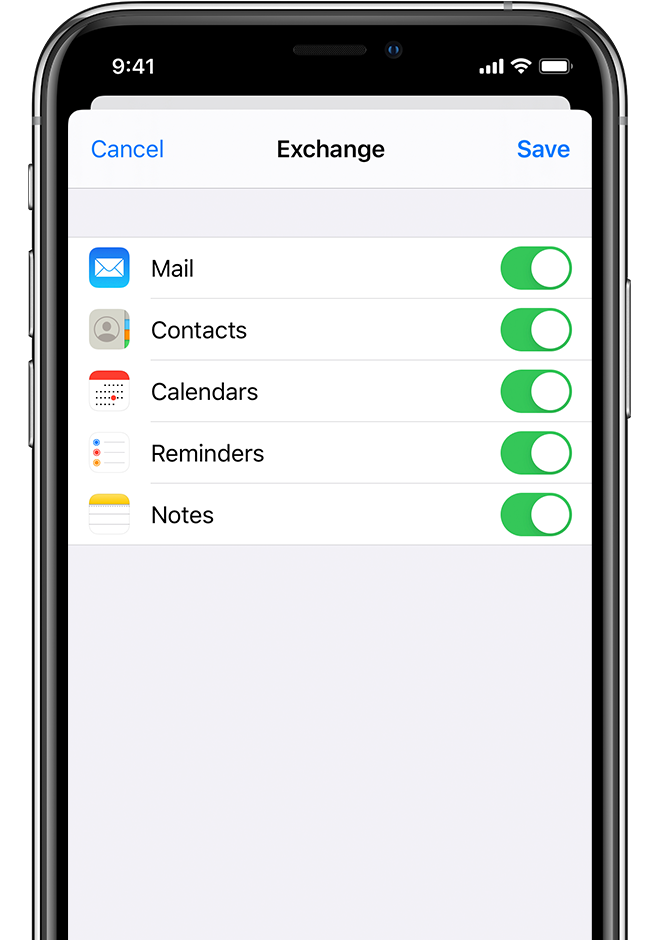
- You can sync Mail, Contacts, Calendars, Reminders, and Notes. When you're finished, tap Save.
Setup Your Account in a Third-Party Application
Third-Party Applications MUST support Microsoft Exchange as an account type.
Third-Party Application are not supported in LocalZone™. We recommend using Outlook for LocalZone™ users.
Note: The steps below are for a generic setup flow and might vary depending on your device.
- Launch the application and navigate to account settings.
- Begin the Add Account setup.
- Select Exchange for the account type.
- Enter your Workplace E-mail address.
- Enter your Workplace password.
- The application should attempt to automatically set up your settings.
- If the application is unable to automatically set up your account, you maybe be asked to enter the Server, Username, and Domain for your account. Contact support if you don't have this information.